Boards
The kanban board
The kanban board is the operational center of HacknPlan. It gives a visual view of work progress across stages and categories.
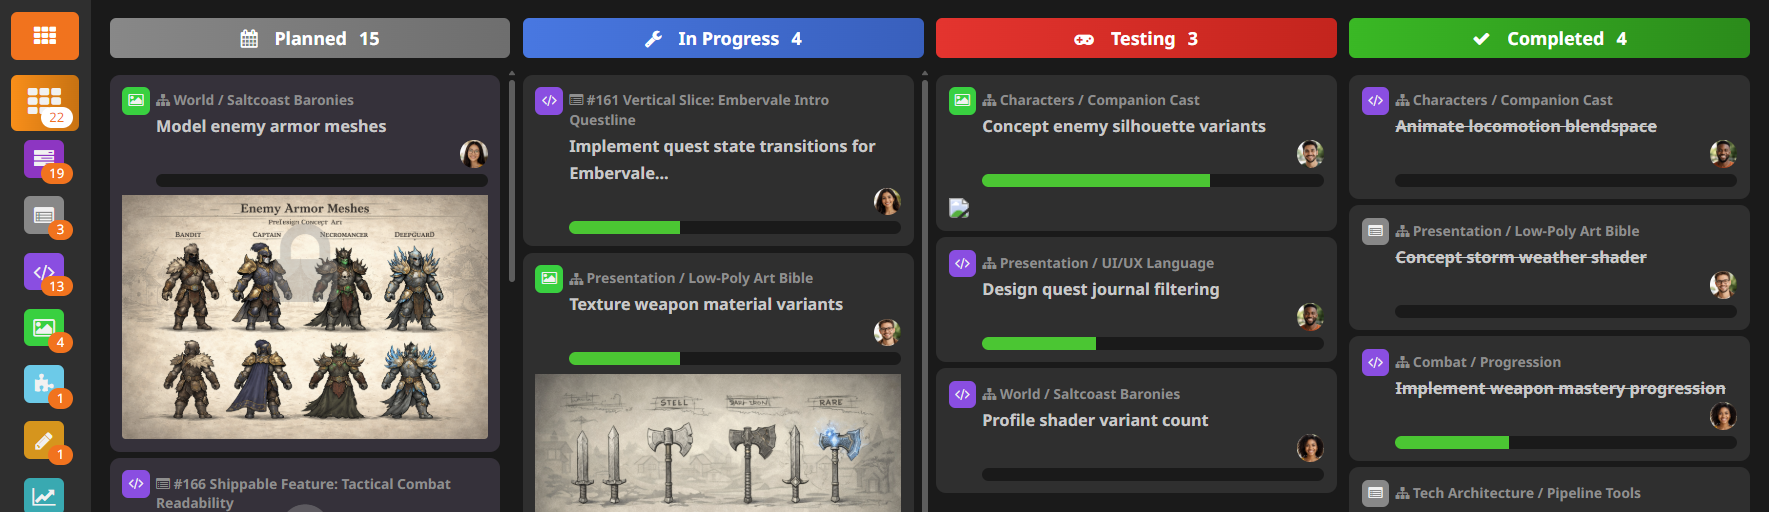
Default stage model:
- Planned: work is in scope but not started.
- In progress: work is actively being developed.
- Testing: work is under validation or review.
- Complete: work is finished and accepted.
Boards are also segmented by category, so each discipline can focus on its own flow while preserving access to a global view, and by user, to focus on the workload of a specific team member.
Updating items on the board
From the board you can:
- move items between stages with drag and drop
- open item details by clicking a card
- edit core fields (permissions apply)
- log work and track time (premium)
- clone, convert, or delete items
The item panel includes tabs for description, subtasks, story tasks, attachments, comments, dependencies, source code links (premium), work logs, and activity.
Keyboard shortcut H displays available shortcuts in context.
Item card floating menu
Hover a card to open quick actions. Premium tiers support multi-selection using Ctrl + click and batch actions.
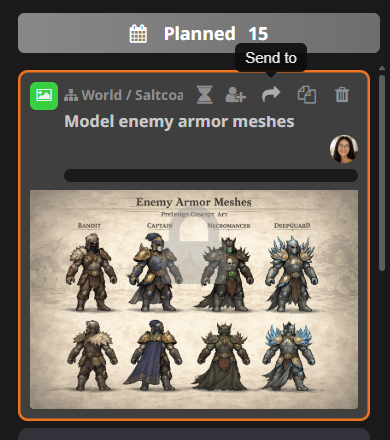
Available actions include:
- Log work
- Add users
- Send to design element
- Send to board
- Send to backlog
- Clone
- Delete
You can disable this menu from Actions -> Edit card display options.
Item card context menu
Right-click a card to run quick actions such as:
- move to top/bottom
- move to previous/next stage
- assign users
- log work
- send to board/backlog
- clone or delete
Other board features
Board header options include:
- grouped-by-design-element view (Personal Plus and Studio)
- board information and metrics
- remaining time to due date
- new item creation
- search, filters, sorting, and display options
Admins can also edit, manage, or close the board directly from board actions.